| Quick Overview...
Below are a few tips to help get you going with WebBuilder Live. |
|||||||
| Step 1: Login to WebBuilder Live |
|||||||
|
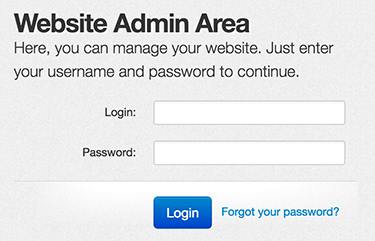
To login to WebBuilder Live, type the following in to the address bar of your web browser, your WebMate username. followed by webmate.me you'll then be prompted to login with your WebMate username and password. Example: username.webmate.me
|
 |
||||||
| Step 2: Edit Modes | |||||||
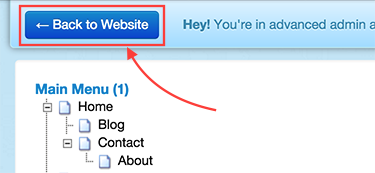
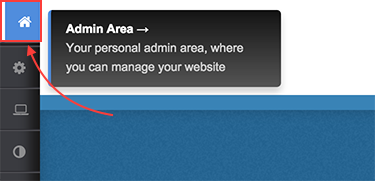
The website content is pre-populated so you can see the idea and have a quick play around before putting your own content in. Live mode is where you’ll do most of the work.
|
  |
||||||
| Step 3: Edit the Title & Logo | |||||||
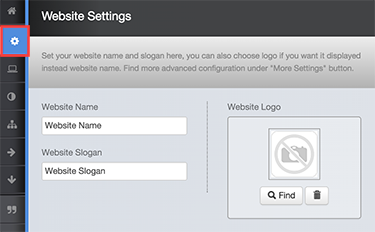
| To edit the title and the logo, go to Website Settings in the menu on the left. Just type your website name and the slogan in the the text boxes. To upload your own logo, click Find and select a file on your computer. Click Save when you are done. |
 |
||||||
| Step 4: Change Themes & Colours |
|||||||
| You can change the entire look of your website by changing the theme, go to the menu on the left and choose Layout design. Click on to the Add a Template button, a list of template images will appear for you to choose from. Select the one that you like then click Preview, on the next page, you can choose the colours that the theme will use. After choosing the theme colour click Continue then click the green Install or Upgrade button. That's it! your new theme is ready. |
 |
||||||
| Step 5: Add a New Page |
|||||||
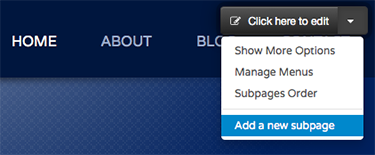
| To add a new page to your website, move the mouse over your site's menu, click on to the small arrow to the right of the Click Here To Edit button. Choose Add a new subpage from the menu. Add a name for the webpage and click Add, this name will display in the main menu when complete. To edit the new page, click on your new menu button. |
 |
||||||
| Step 6: Change the Layout |
|||||||
| You can also adjust the page content layout to single column, two column or a three column layout. You can also choose a full width page, to do this the side bar must be turned off. |
 |
||||||
| Step 7: Add Content |
|||||||
| The website content, text & images can easily be updated in Live Edit Mode & Advanced Admin Mode , just place the mouse cusor over the area that you would like to change and click Edit. The section will then open in Edit mode, to change / add text, select the text that's already there and start typing or place the mouse cursor where you would like to add more text. The icons above found in the tool bar allow you to add links, images and video content to your web pages. After clicking on to the image or video buttons you will get the opportunity to upload from your computer or you can re-add content that you have already uploaded to the website. |
 |
||||||
| Step 8: Add a Module |
|||||||
| Extend your website functionality with WebBuilder Live modules. To add a module to your page - drag a selected module from the list to the desired content area. To edit an exising module, find it on the page and click Edit button. There are lots of modules available to help you easily build more functionality in to your website, here's just a few of them...
Not all modules are displayed in this view, click Manage Modules to see even more great add-ons.
|
 |
||||||
- 114 användare blev hjälpta av detta svar

