|
|
||
| Step 1: Select Mail from Settings |
||
| On your iPhone/iPad, select Settings from the App screen, then select Mail. | 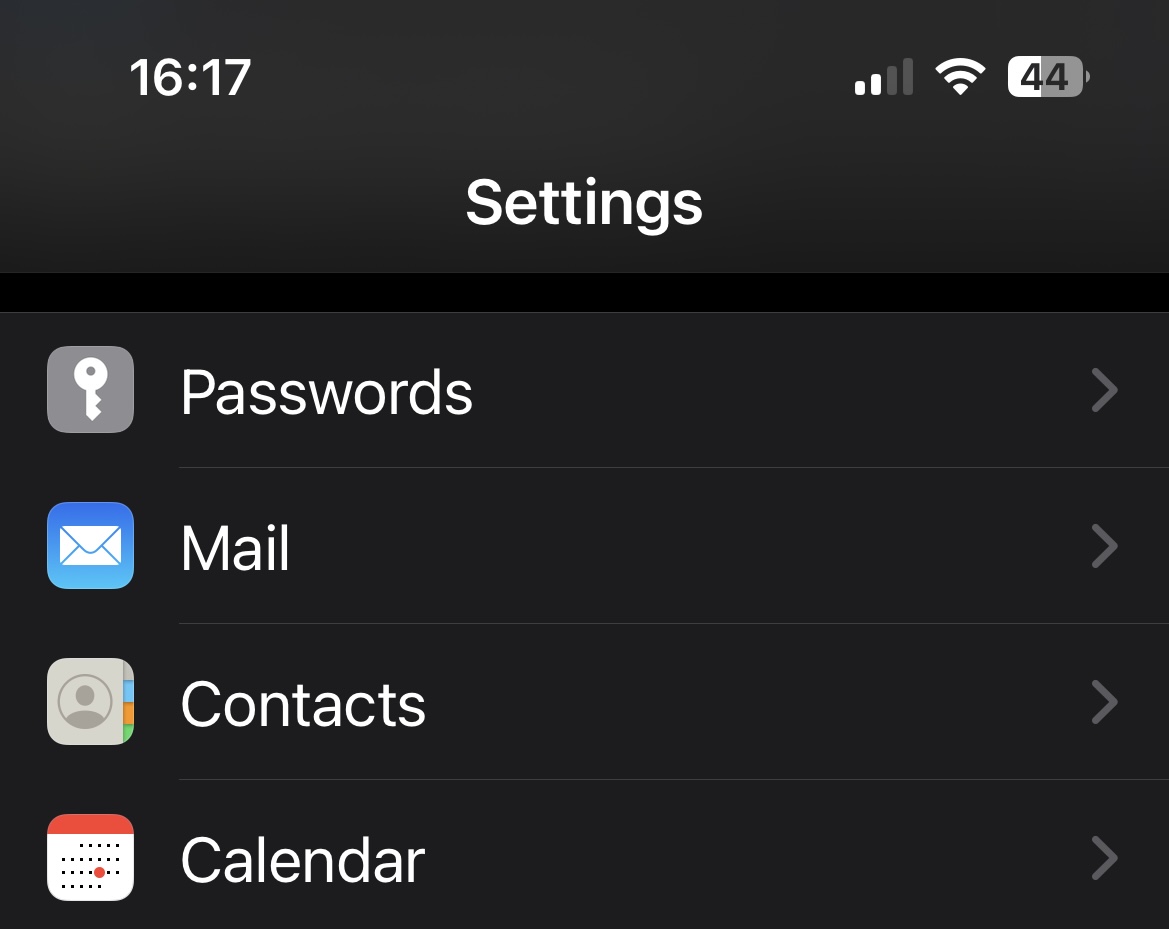 |
|
| Step 2: Select Accounts from Mail |
||
| From the Mail window, select Accounts. | 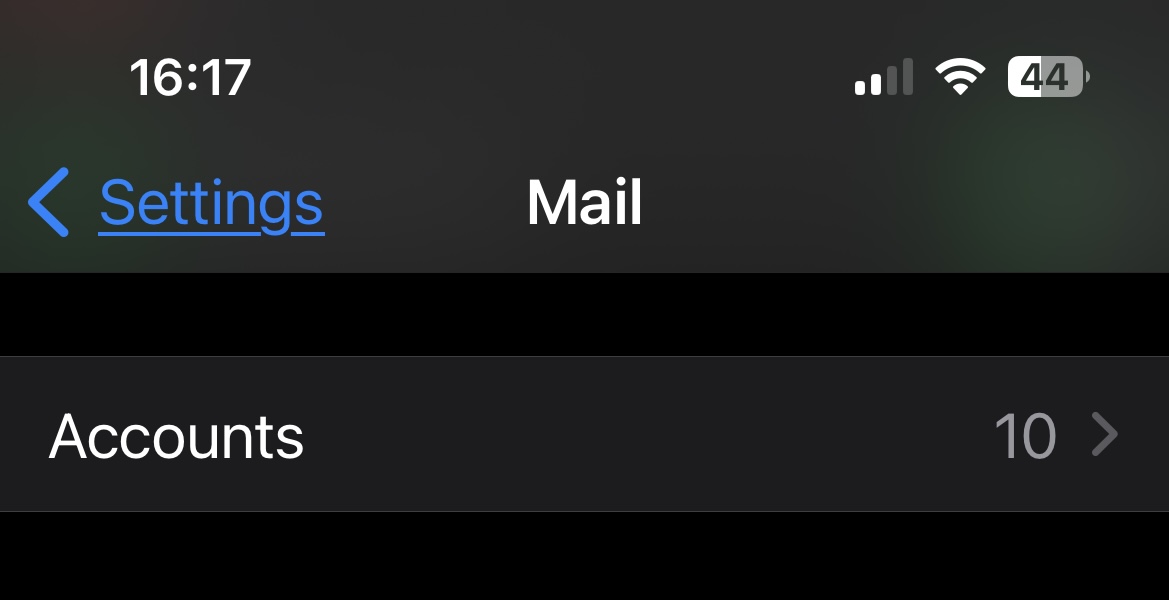 |
|
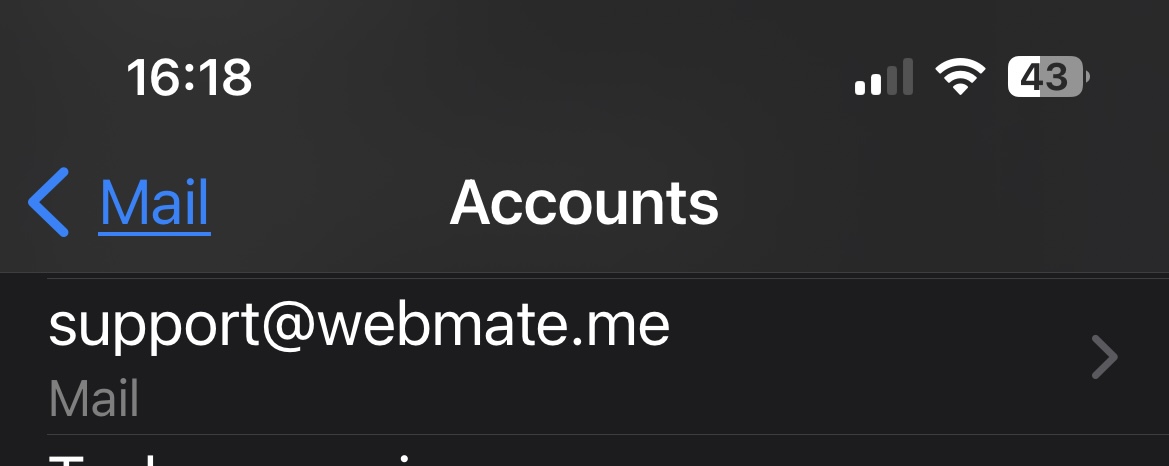
| Step 3: Select required account |
||
| Select the required account which needs SSL enabling from the list. |
 |
|
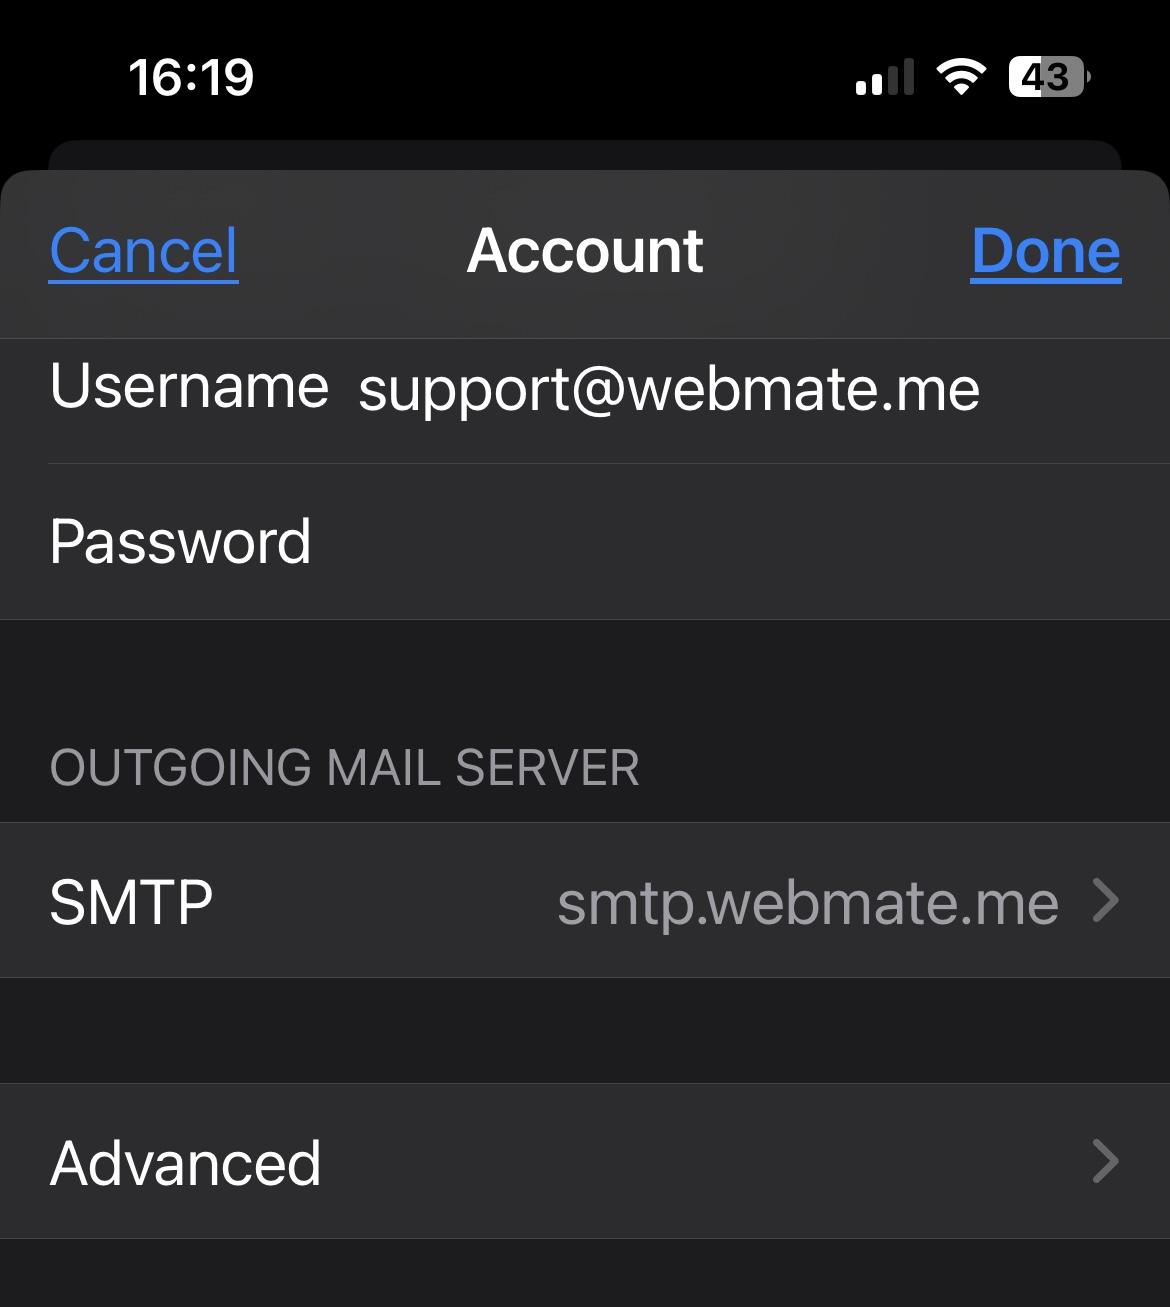
| Step 5: Advanced IMAP |
||
| Scroll Down and select Advanced |
 |
|
| Step 6: Select SMTP |
||
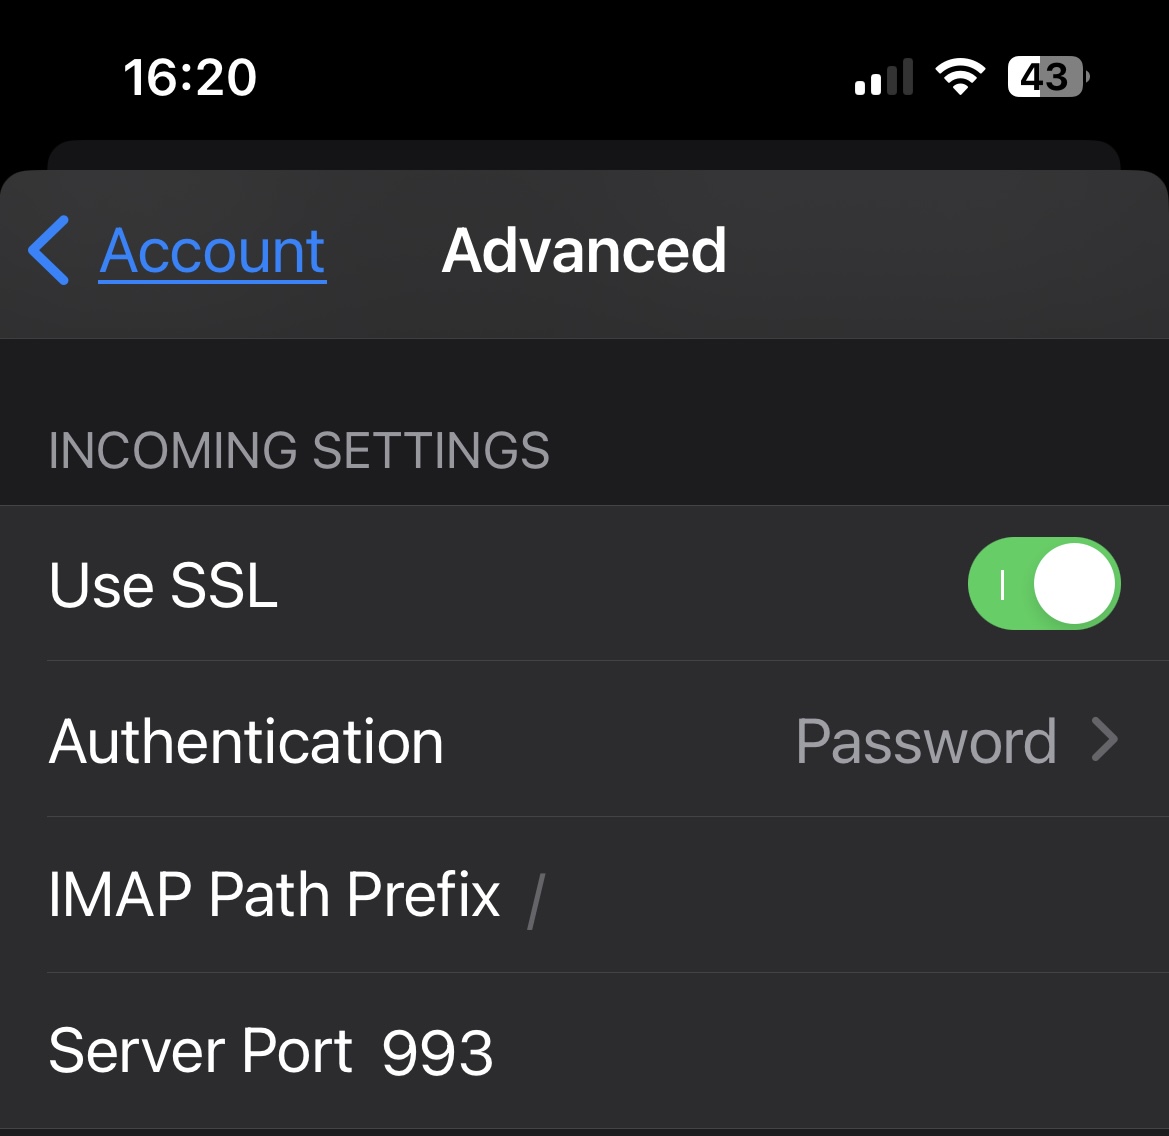
| then scroll down to Incoming Settings. Under Incoming Settings, ensure: Use SSL is green (ticked). Authentication: Password: Server Port: 993 for IMAP or 995 for POP. Then select Account on the top left of the screen. |
 |
|
| Step 7: Ensure SSL is enabled on SMTP | ||
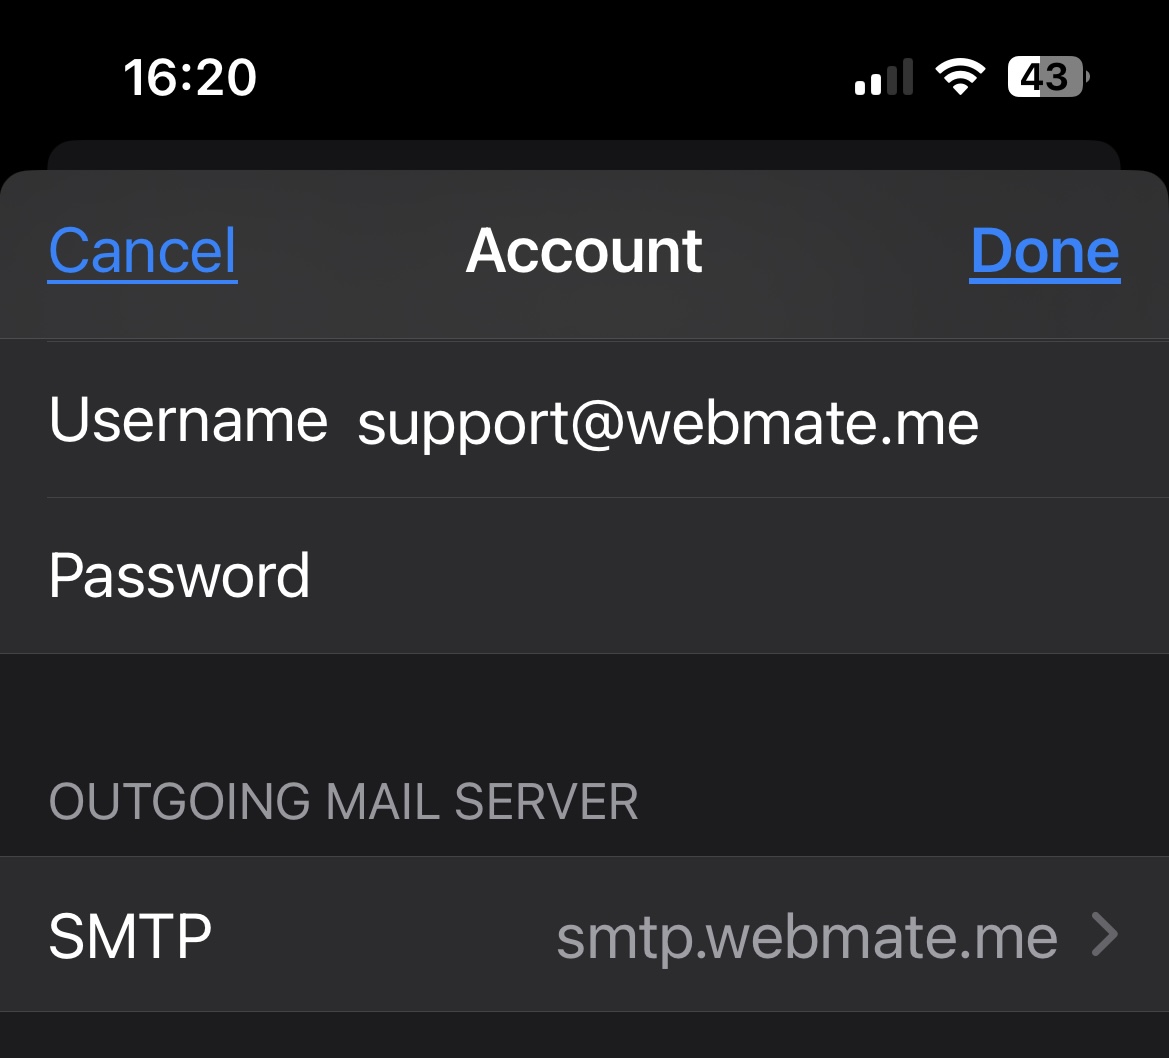
Under Outgoing Mail Server, select SMTP |
 |
|
| Step 6: Select SMTP |
||
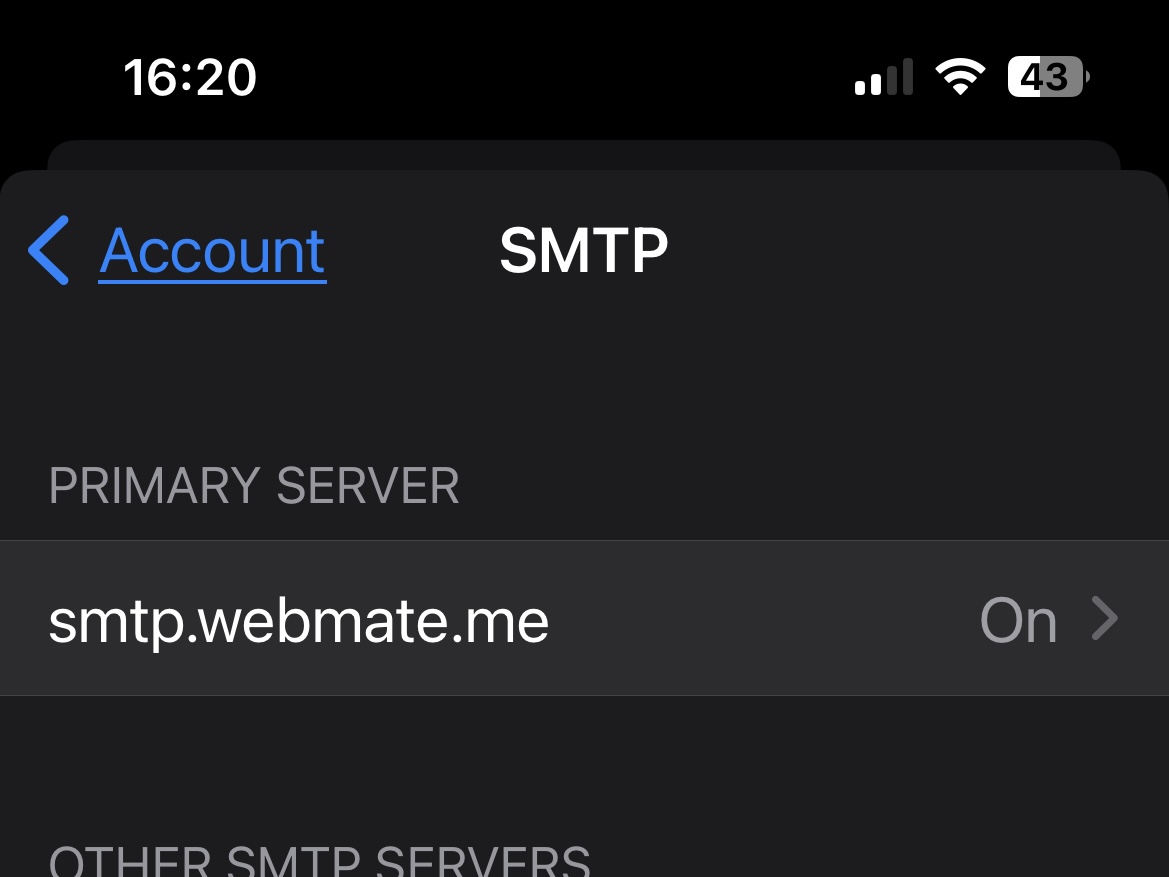
| Under Primary Server: Press ON |
 |
|
| Step 6: Select SMTP |
||
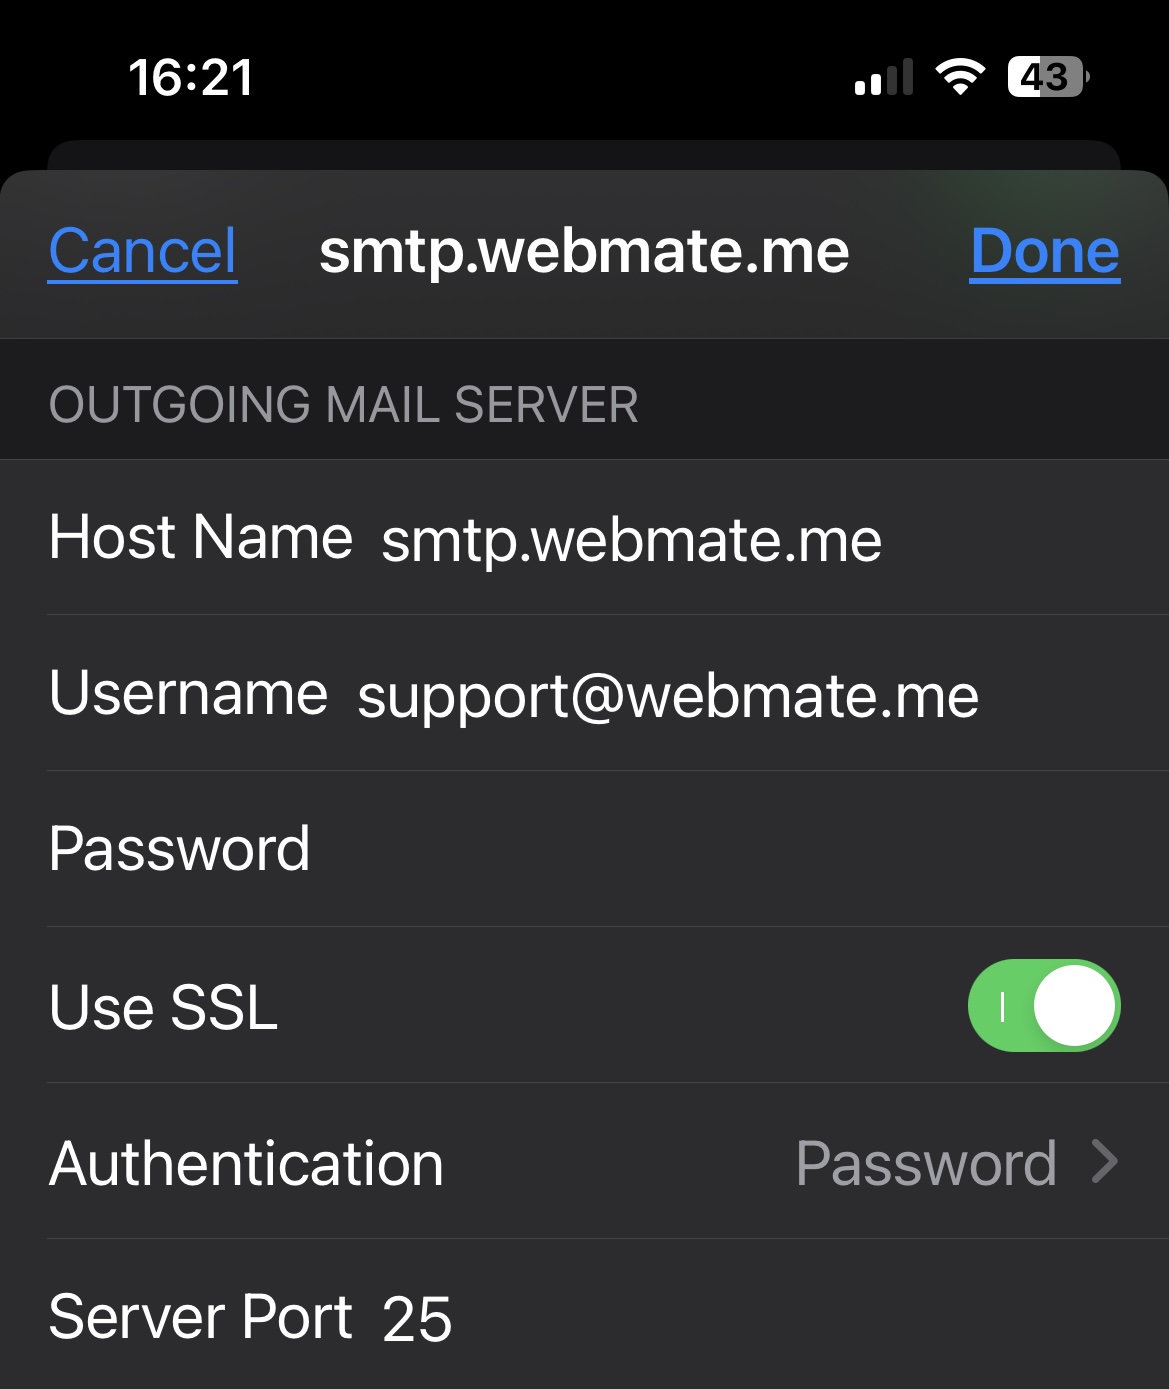
| Use the following settings under the Outgoing Mail Server heading Host Name: smtp.webmate.me Username: Your full email address Password: Add the password for this email account Use SSL: Yes - it should be green. Authentication: Password Server Port: 25 Once Applied click Done (top right) then Account on the top left, then Done once more. That's it! - Your account is now set up with SSL on your iPhone or iPad! |
 |
|
- 3 Bu dökümanı faydalı bulan kullanıcılar:


Quick Overview...
To enable SSL on your email account your iPhone/iPad, go to your Incoming and Outgoing mail server settings and make sure that SSL is ticked for each.
Detailed Instructions...