| Quick Overview...
To add an email alias in WebMate Control, login to my.webmate.me, click on Email, click on Mailbox, find the mailbox that requires an alias and then add the alias you wish to have. Once done, click on Confirm and then your alias will be created. |
||
| Step 1: Log into WebMate Control |
||
| Go to my.webmate.me and log in using your details. | 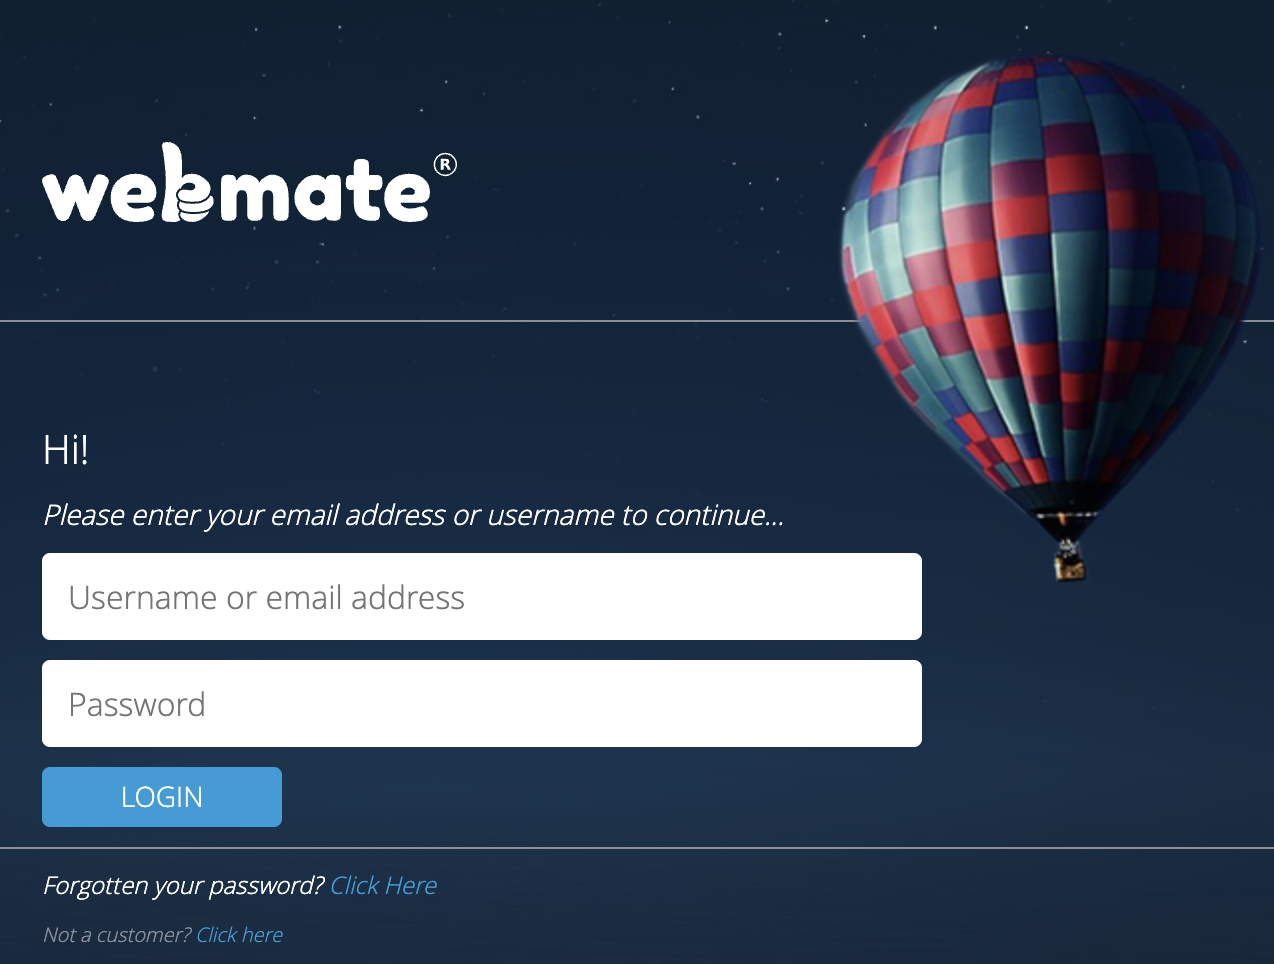 |
|
| Step 2: Go to Email |
||
| Once logged in, click on to the Email section | 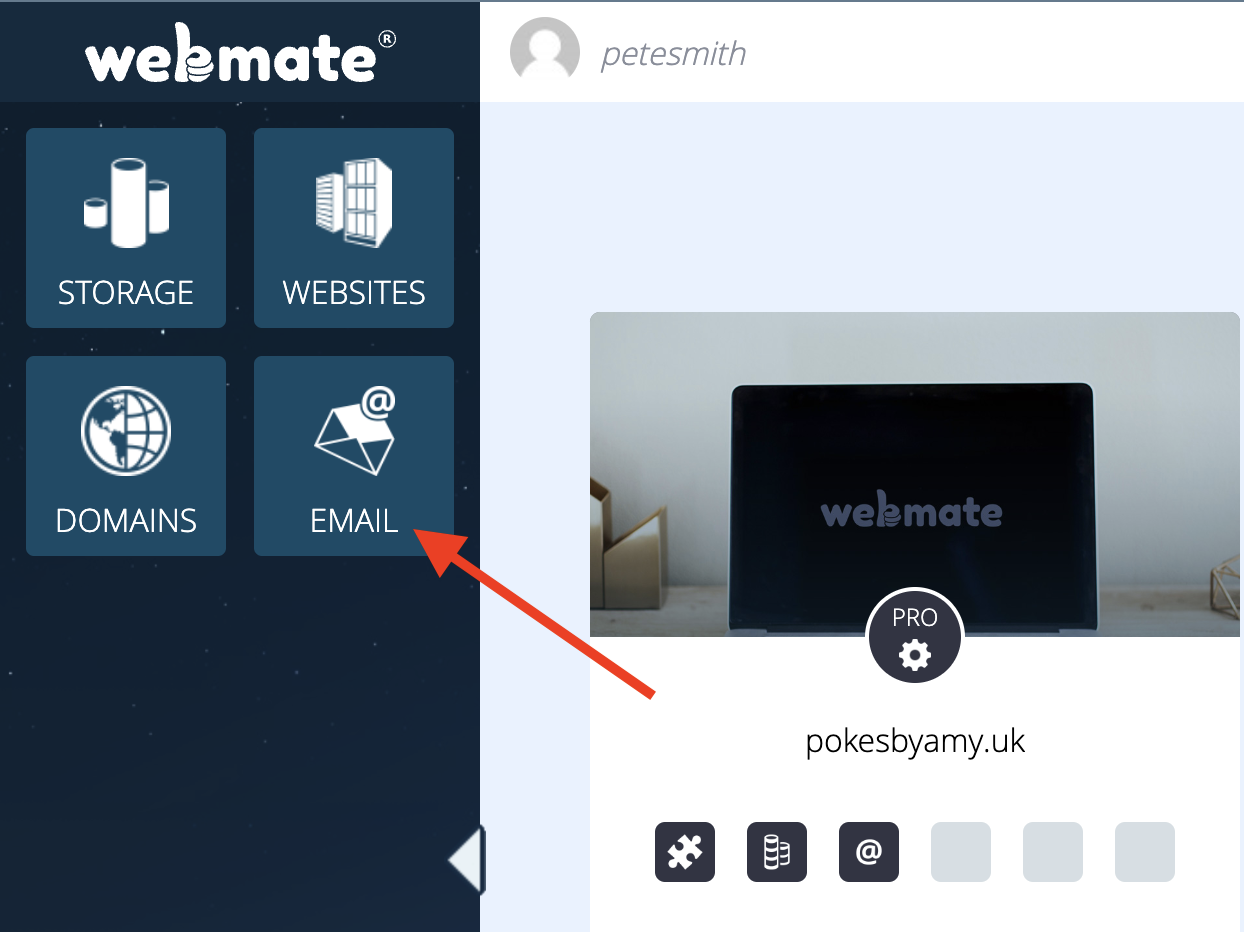 |
|
| Step 3: Select Address To Alias |
||
| From the email section, click Mailbox then select the address that requires the alias name. | 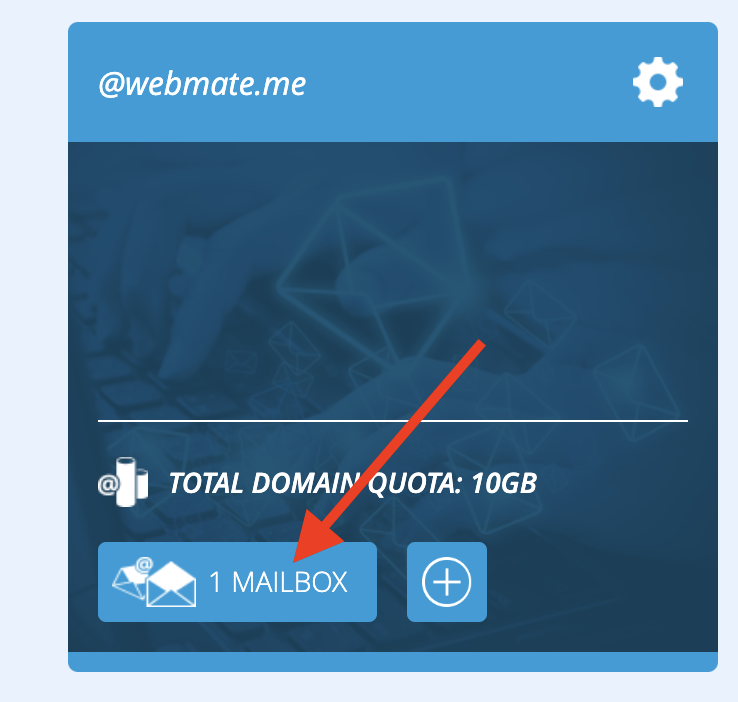 |
|
| Step 4: Manage Email Aliases |
||
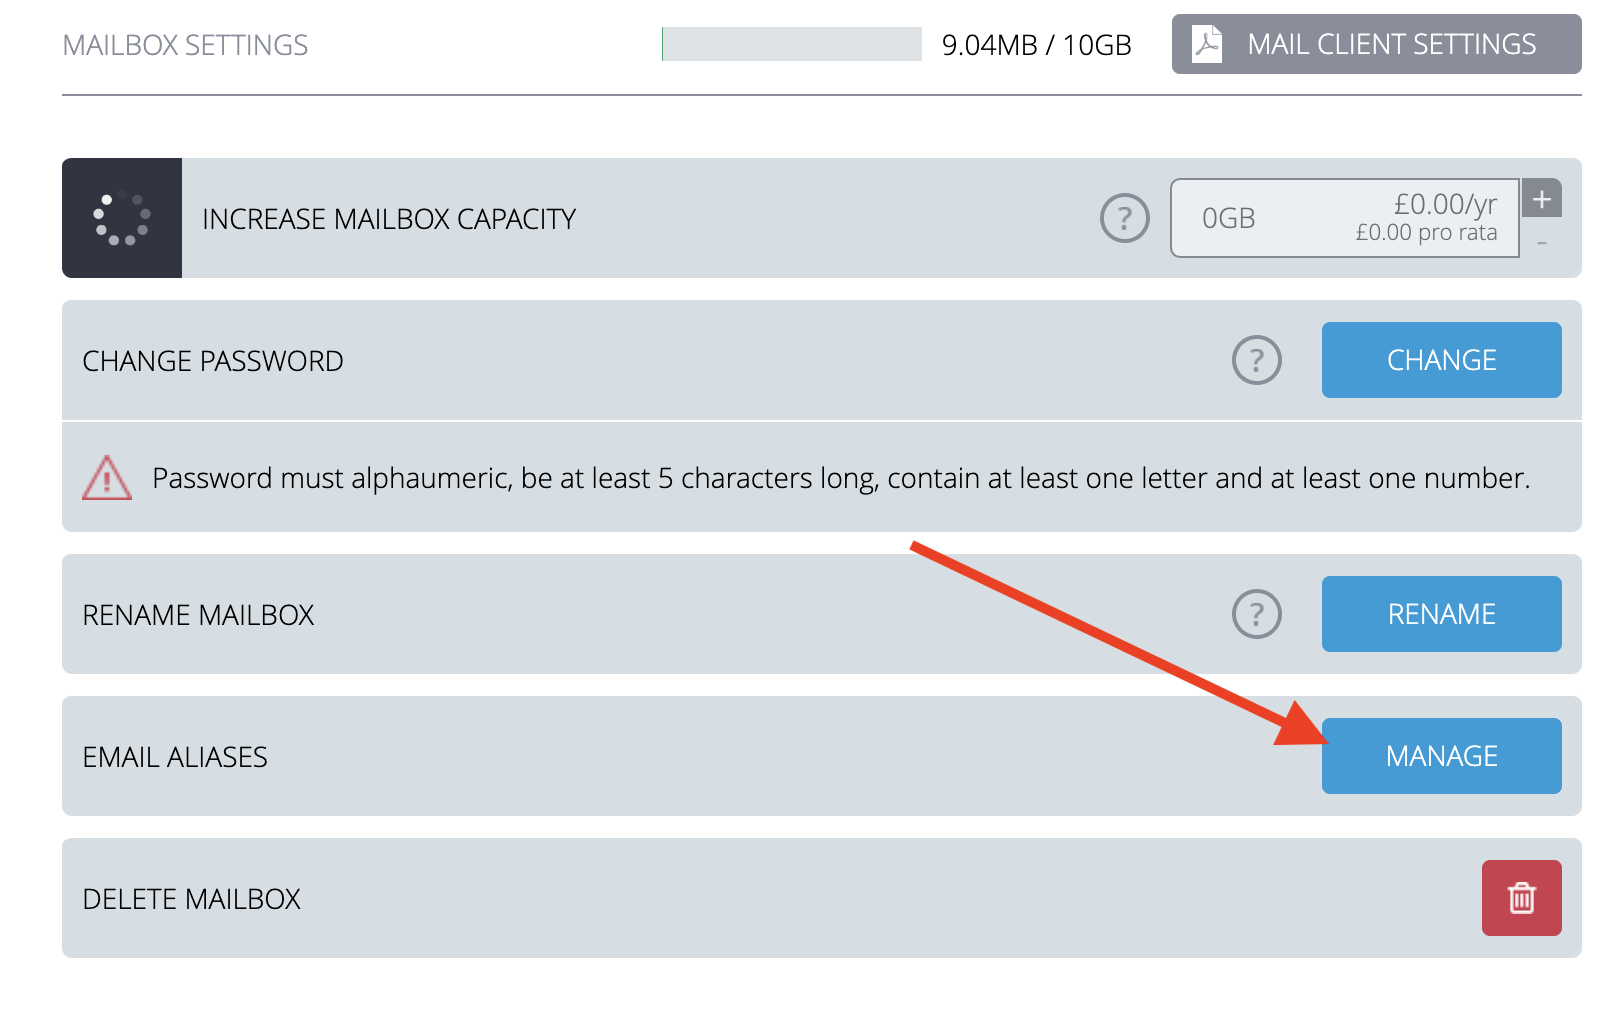
| Select Manage by the Email Alias area. |
 |
|
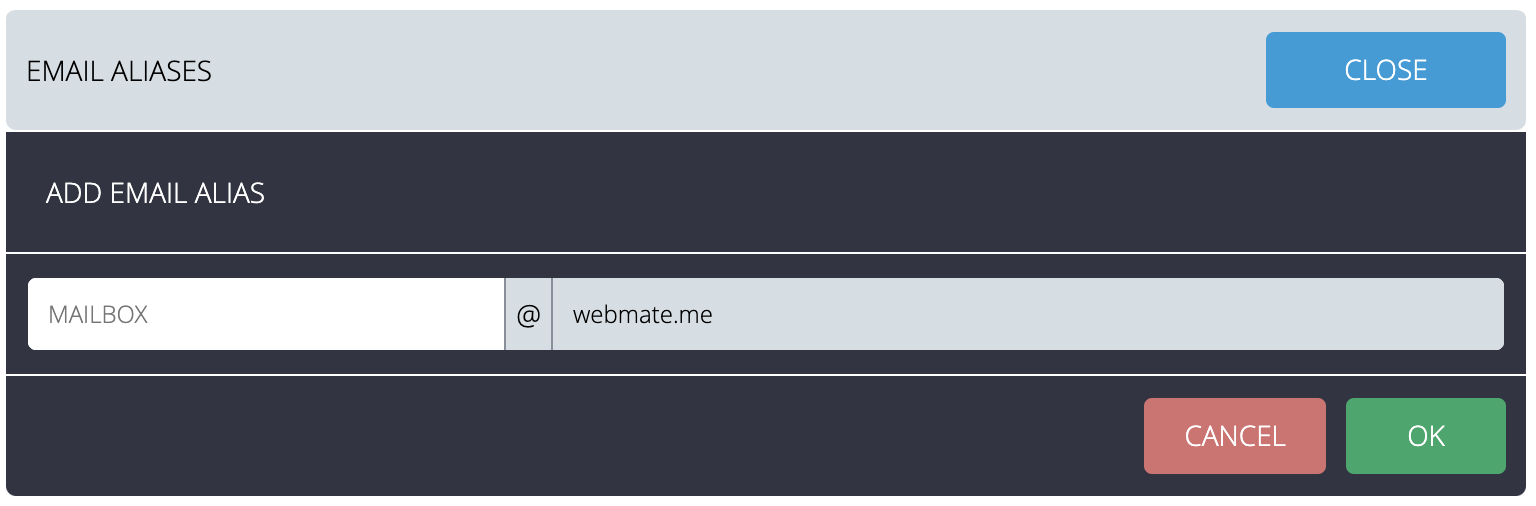
| Step 4: Add Alias |
||
| Add the Email Alias name & click ok. That's it! you have now added an email alias to your address. |
 |
|
