|
||||
| Step 1: Install the 3CX App |
||||
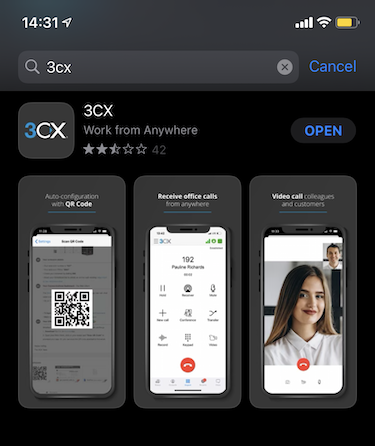
| First, you will need to find and install the 3CX app from your App store. |
 |
|||
| Step 2: Set Up Your Extension |
||||
|
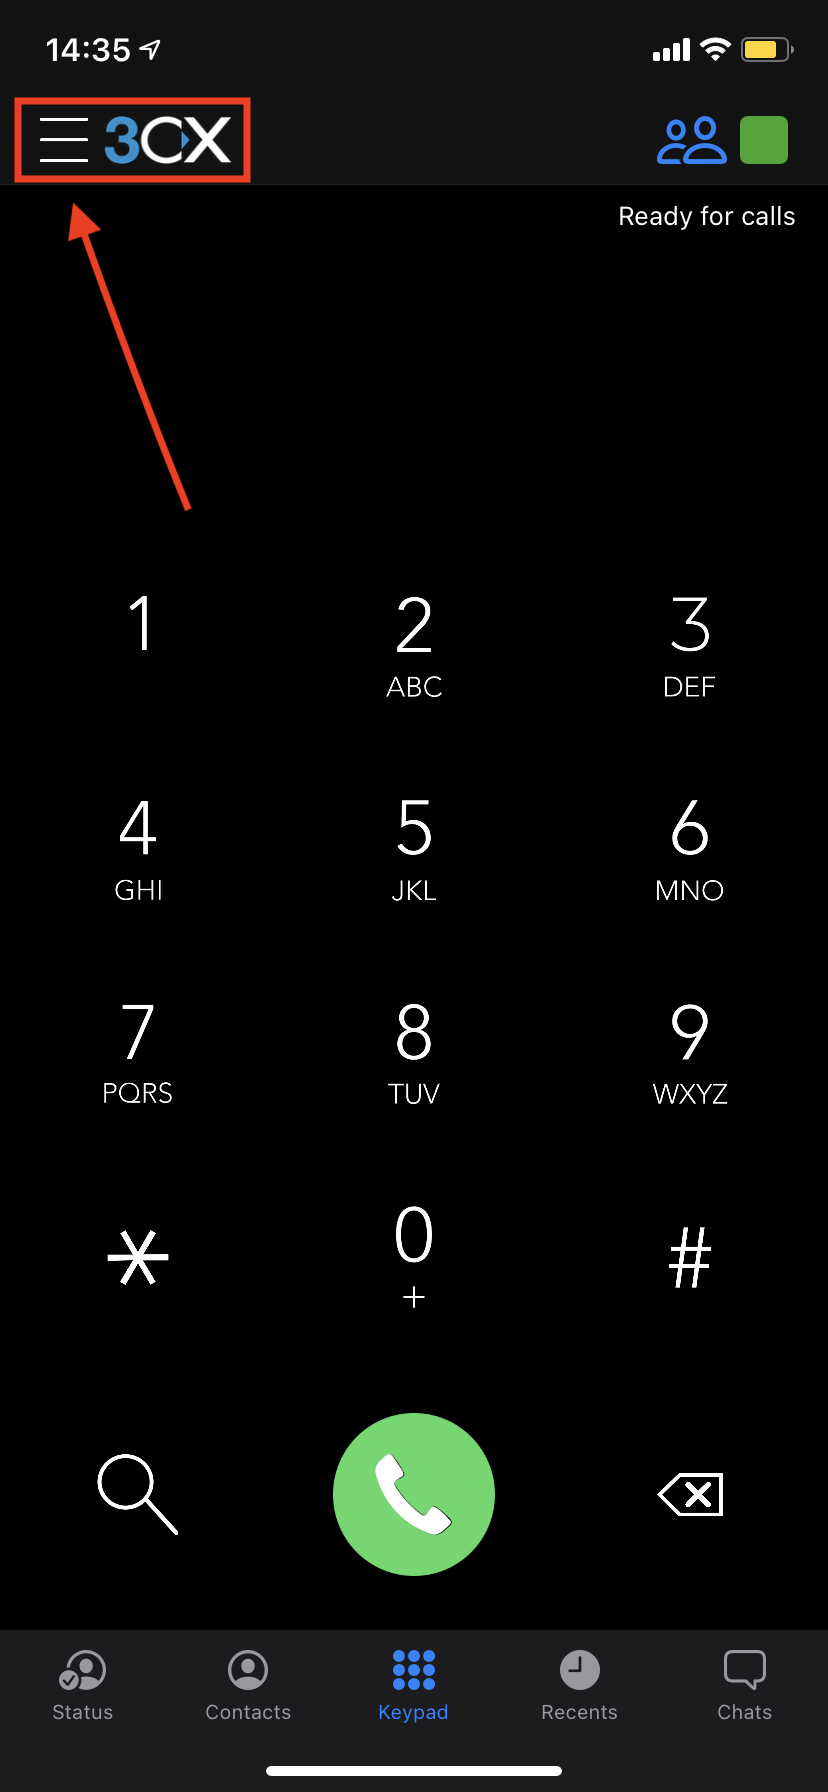
Once you have installed the 3CX app, open it and click on the menu icon in the top left (3 lines). You will then have an option for Scan QR Code. Click this to bring up your camera and scan your QR code. Scanning your extensions QR code will automatically provision your extension in your 3CX app. So you can start making and receiving calls straight away. The QR code would have been sent to you via email when your extension was created.
|
 |
|||
| Step 3: Set Status & Call Queue |
||||
|
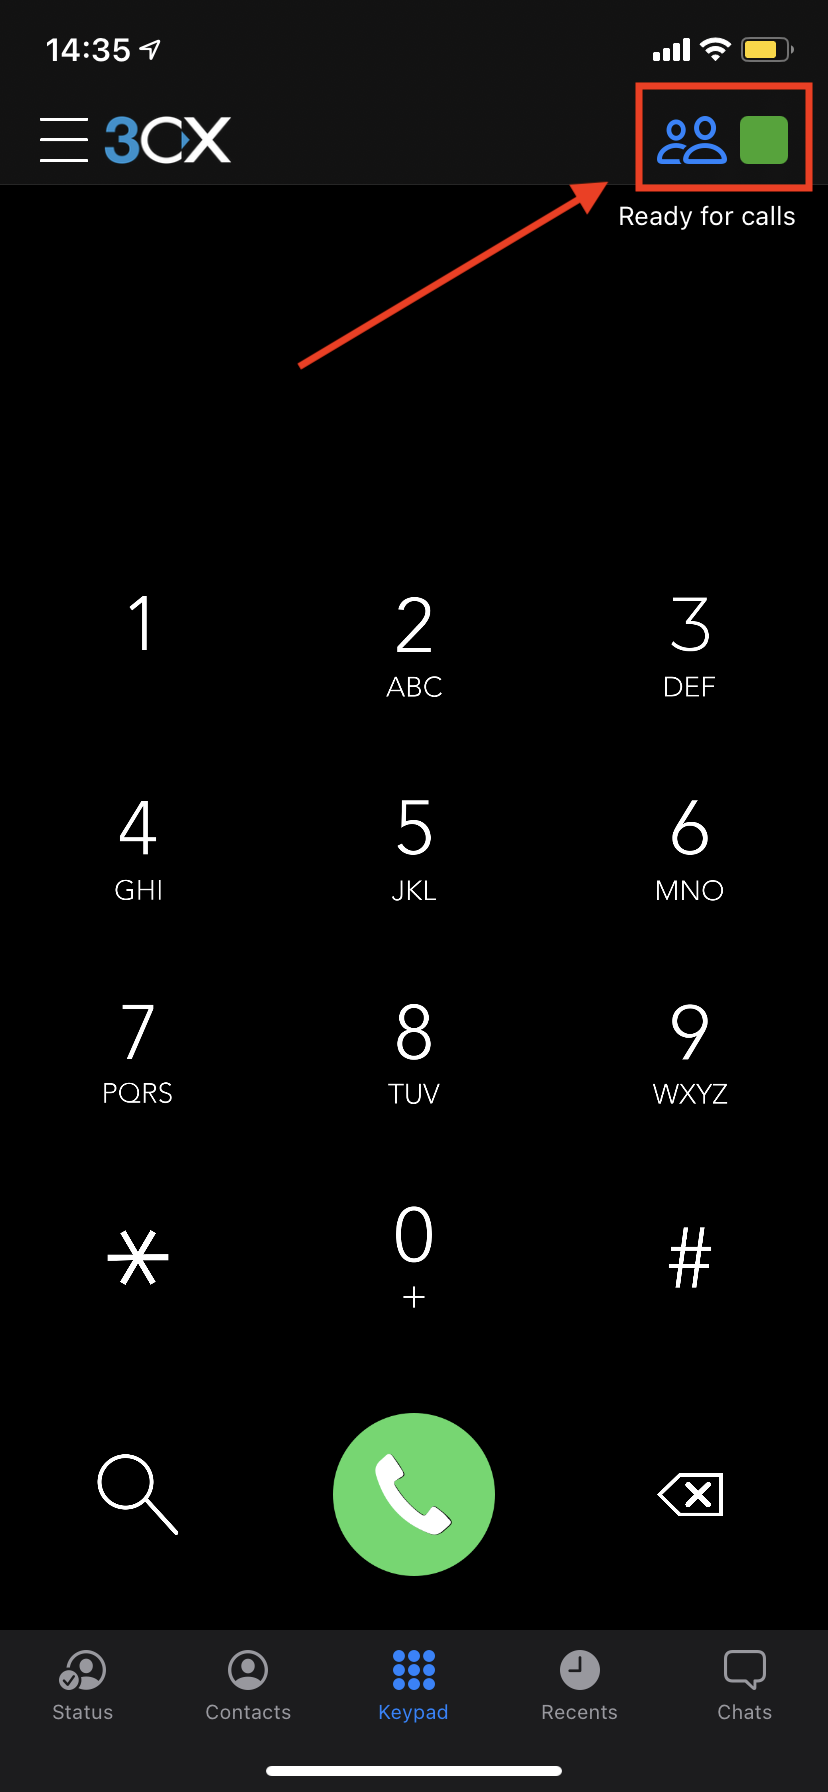
To toggle your status, click on the coloured square in the top right. You can then set your status to Available, Away, DnD etc. To sign in/out of a call queue, click onto the 2 person symbol next to the status square (blue icon means you're logged in, white icon means you're logged out). There are lots of other useful features in the 3CX app, you can add additional extensions using the same method as above, schedule meetings, access voicemails, access live chats and lots more.
|
 |
|||
- 1 Корисниците го најдоа ова како корисно


You can set up your own 3CX extension on your Android or iOS mobile phone and make calls anytime, anyplace. Just install the app from the app store and scan your extensions QR code which was sent to you when your extension was created. The provisioning is done automatically, you'll be able to make and receive calls straight away.
Detailed Instructions...