Quick Overview...Go to your WebMate Control and navigate to your Gallery folder, from there you can create new Gallery folders and upload photos to your folders.Detailed instructions... |
||
| Step: #1 Locate the 'Gallery' folder within WebMate Control |
||
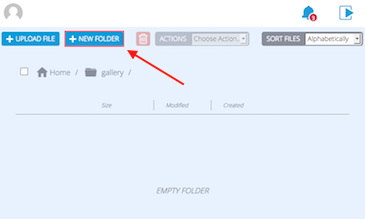 Log into WebMate Control and locate your galleries folder within the Storage section and click on the folder. Log into WebMate Control and locate your galleries folder within the Storage section and click on the folder.To create a new folder, within your gallery folder click the New Folder button, enter the folder name and proceed by choosing a folder name and click Create Folder. |
||
| Step: #2 Upload your Files |
||
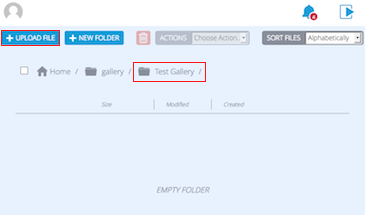 To upload your files into your gallery folder simply click into the folder and then Upload File. To upload your files into your gallery folder simply click into the folder and then Upload File. You will then be able to navigate your way to the file you'd like to upload. Select the file and then Open. |
||
| Step: #3 Preview your Gallery |
||
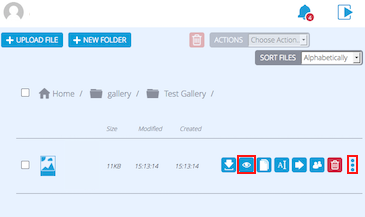 Now you're all done and to view your new Gallery, click on the Preview button (icon of an eye). Now you're all done and to view your new Gallery, click on the Preview button (icon of an eye).That's it! You have now created a new Gallery in WebMate Control. |
||
- 19 Korisnici koji smatraju članak korisnim
