Quick Overview...Add your WebMate calendar details in Calendar under Preferences, selecting 'Other CalDav Account' with your email address as the username, your password and mail.webmate.me as the server.Detailed instructions... |
|||
| Step: #1 Preferences |
|||
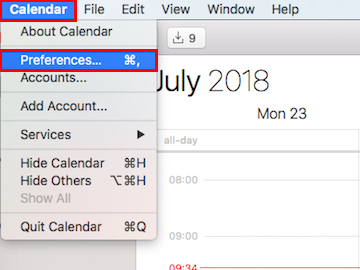 Open Calendar. Open Calendar. Go to Calendar in the top left and then Preferences. |
|||
| Step: #2 Add Account |
|||
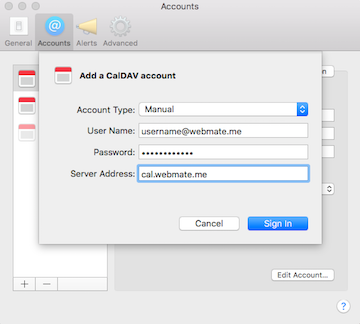 Select the Accounts tab and click the plus sign to add an account. Select the Accounts tab and click the plus sign to add an account. Select Other CalDAV Account from the drop down menu. Account type: Manual Username: Your full email address. Password: Your email password. Server address: cal.webmate.me Once the above information has been entered, click Create. |
|||
| Step: #3 WebMate Calendars |
|||
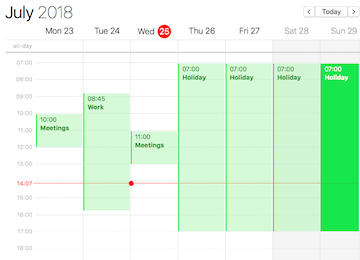 In your Calendar application, you will now see your WebMate In your Calendar application, you will now see your WebMate calendars. You can also add/remove events. That's it!
|
|||
- 63 Kunder som kunne bruge dette svar
