|
||||
| Step 1: Open your Network Preferences |
||||
Click on to the Apple icon (top left of your screen.) Choose System Preferences. Select Network |
 |
|||
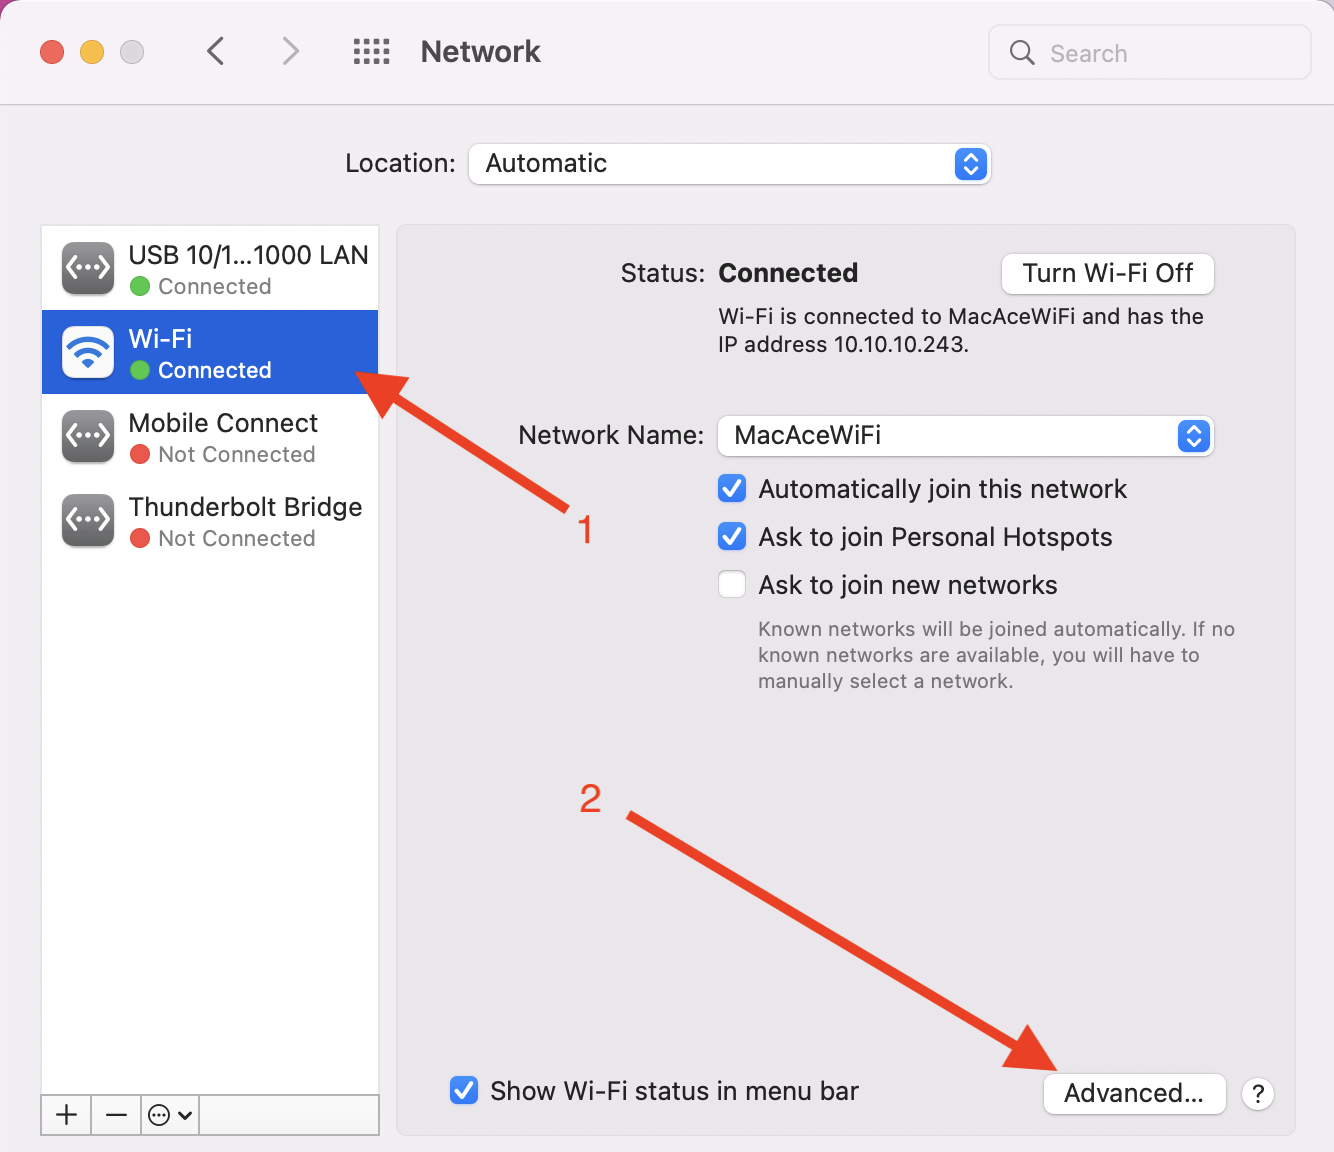
| Step 2: Select the Connectivity |
||||
Choose the connectivity that you use from the white panel on the left.
Then click Advanced. |
 |
|||
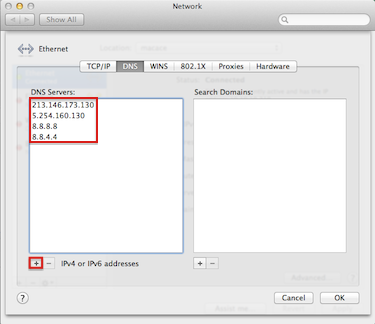
| Step 3: DNS |
||||
| Select the DNS tab. |
 |
|||
| Step 4: Add in the DNS Servers |
||||
| To remove existing DNS entries, select the row you need to remove. Click the "-" symbol (bottom left of the DNS Servers panel.)
To add WebMate's public DNS servers, click on to the "+" symbol (bottom left of the DNS Servers panel). Type: 213.146.173.130 Select the "+" button Type: 5.254.160.130 Select the "+" button (These are Google's public DNS servers) Type: 8.8.8.8 Select the "+" button Type: 8.8.4.4 Click OK Click Apply on the remaining Network window. Close the Network window. |
 |
|||
- 48 Usuários acharam útil
