|
||
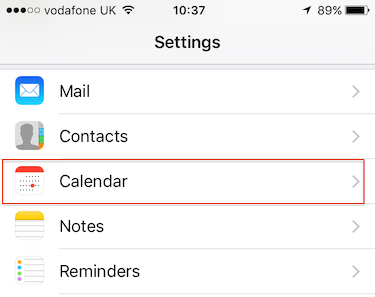
| Step 1: Settings |
||
| Go to Settings on your iPhone, then click on Calendars. (if on an older version on iOS then it would be Mail, Contacts and Calendars) |
 |
|
| Step 2: Add Account |
||
| Select Add Account. | 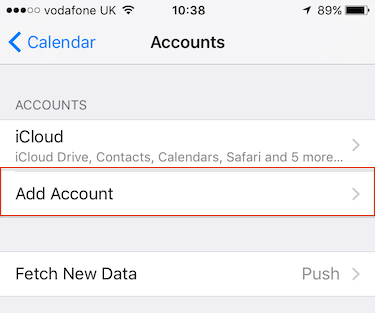 |
|
| Step 3: Account type |
||
| Choose Other. | 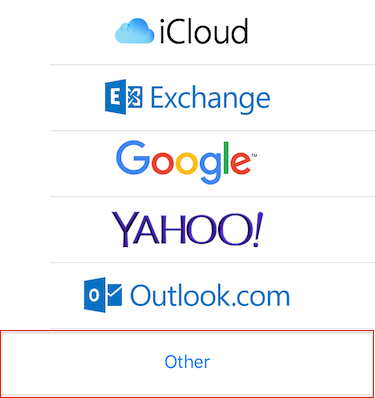 |
|
| Step 4: CalDAV |
||
| Select Add CalDAV Account. | 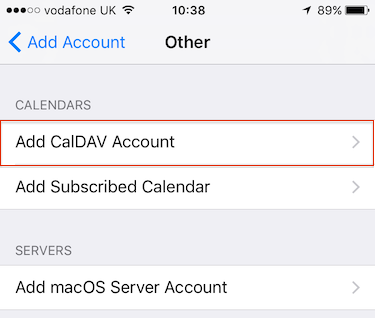 |
|
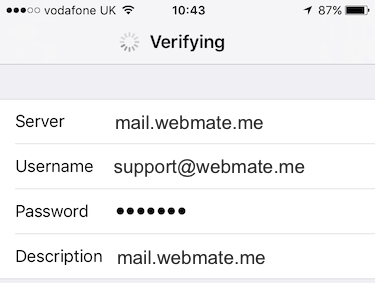
| Step 5: Account settings |
||
| Add the details required to setup the account.
Server: mail.webmate.me Username: your full email address. Password: the password for the email account. Description: Add a name for your calendar (it will automatically put 'mail.webmate.me' but you can change this if you want to). Click Next. |
 |
|
| Step 6: Save |
||
| Now you can go to iCal on your iPhone, click Calendars and select which calendars you wish to view and click done. | 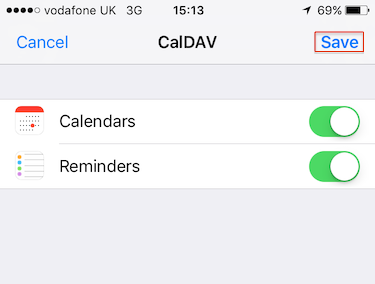 |
|
- 95 کاربر این را مفید یافتند
