|
||
| Step 1: Select Calendar |
||
| Click the Calendar button in the bottom left corner of the WebMail window. | 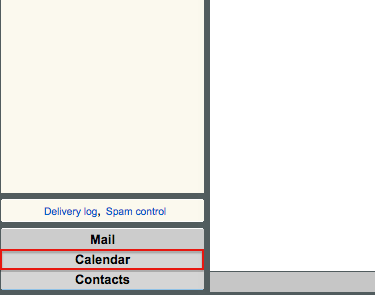 |
|
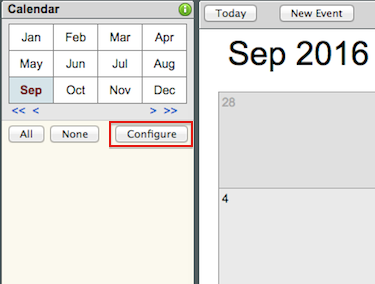
| Step 2: Select Configure |
||
To create a new calendar click on Configure and this will take you to the calendar settings. |
 |
|
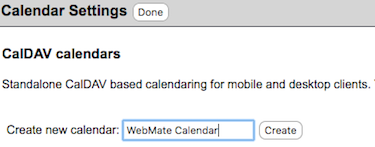
| Step 3: Creating a new calendar |
||
| To create a new calendar, type in a name for your calendar and click Create.
Your new calendar will appear in the list below, it will also appear in the panel on the left under the Configure button. From the Calendar Settings page you can also change the time zone according to your location, just click the drop down menu and select your location. There are also options to prevent drag & drop editing (this prevents accidental editing). Don’t forget to click Save Settings when you are done. |
 |
|
- 95 Uživatelům pomohlo
