|
|||||||
| Step 1: Login to webmail |
|||||||
| Login to WebMail with your full email address and the password for this email account. | 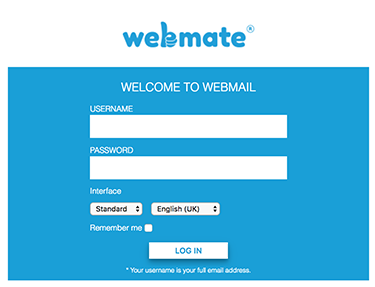 |
||||||
| Step 2: Options |
|||||||
| Go to the Options menu (top right) and choose Preferences | 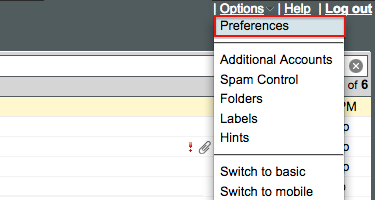 |
||||||
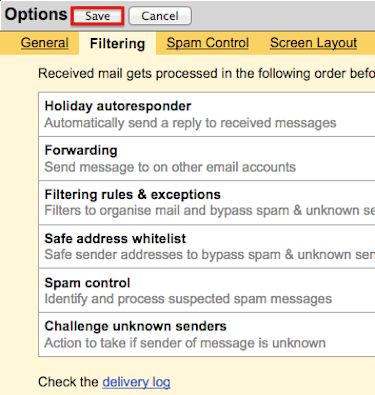
| Step 3: Filtering |
|||||||
| Click the Filtering link in the menu at the top of the page. Proceed by clicking Configure on the same line as Holiday autoresponder. |
 |
||||||
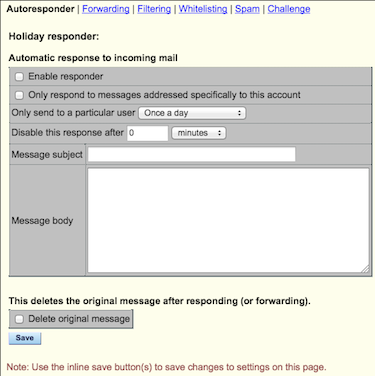
| Step 4: Add Responder Message |
|||||||
Check the box to Enable autoresponder
When you're done click Save. The responder will continue to work until it is disabled manually or until the Disable this response after X setting is met. |
 |
||||||
| Step 5: Save Changes |
|||||||
| After clicking Save in the step above you will need to click Save again on the Options page. This completes the Auto-responder setup. |
 |
||||||
- 49 Benutzer fanden dies hilfreich
