Quick Overview...You can add Two Factor Authentication by signing into your Billing account and then going to Accounts Settings > Security Settings. You will need to ensure that you have an authenticator app either on your browser or on your phone. We recommend the Google Authenticator app. You'll also need to keep a copy of your backup code in a safe place, it's best to keep this stored either in 1Password or any other encrypted storage app. Detailed Instructions... |
||||
| Authenticator App |
||||
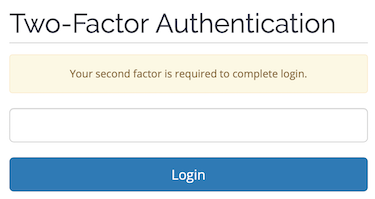
First, you will need to either add an authenticator app onto your browser extensions or on your phone. Below are some links to apps you can use on your browser...
|
||||
| Step #1 Logging into Billing |
||||
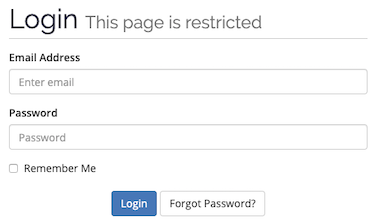
Once you have downloaded and installed an authenticator app, you will need to log into the Billing ares with your Billing details.
|
||||
| Step #2 Locate Two Factor Authentication | ||||
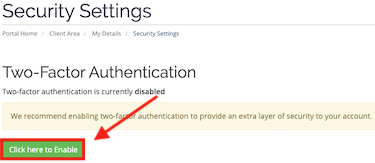
You can then go to Accounts Settings > Security Settings and click onto Click here to Enable under Two-Factor Authentication. |
||||
| Step #3 Configure Two Factor Authentication | ||||
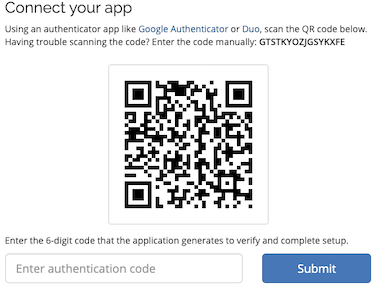
A pop up window will then appear explaining what Two Factor Authentication is, press Get Started and you can then scan the QR code using your Authenticator App. If you have problems scanning the code, then you will be given a code that you can enter manually. Once you have scanned the QR code, you will need to enter the 6 digit code that will appear on your authentication app. |
||||
| Step #4 Save your Backup Code | ||||
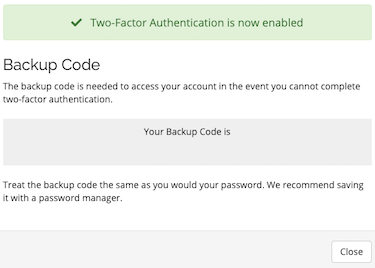
After entering your 6 digit code, two factor authentication will be set up and enabled on your account. A Backup code will show on your screen, save this code in an encrypted storage app such as 1password. The backup code is needed to access your account if you are unable to complete the two factor authentication. That's it! You have now enabled two factor authentication on your Billing account. |
||||
- 46 用戶發現這個有用

